
Hello art friends!
Today we have a cozy, Ghibli-esque mossy rock paint-along! I’ll share the steps below, and you can watch the techniques in action in my YouTube video.

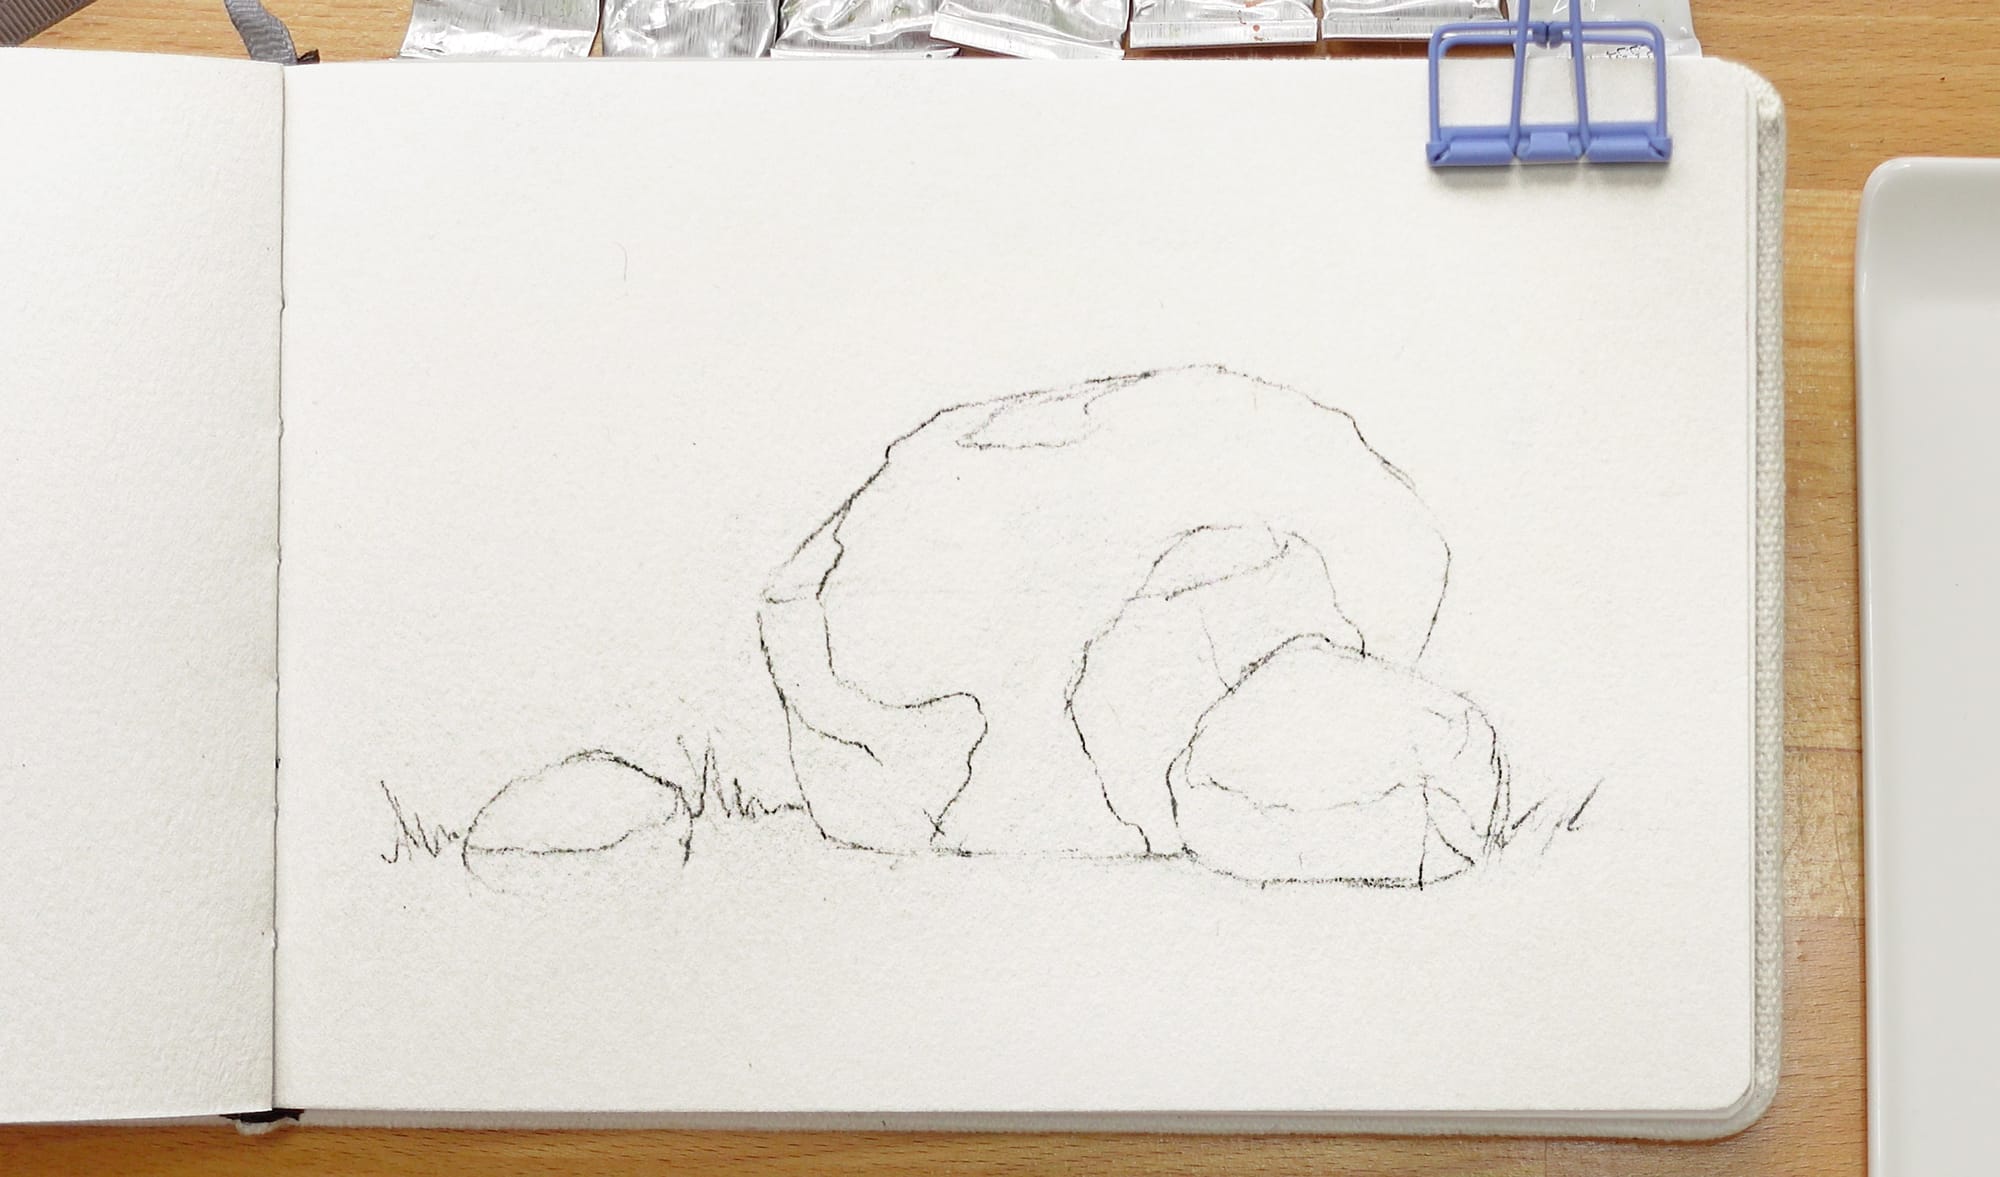
Feel free to copy my sketch if you want to follow along with the painting process video step-by-step! (I digitally increased the contrast so it's a little bit easier to see.)
If you want to learn more about drawing and sketching rocks, you can check out my video on that topic here.
Now that our sketches are prepared, let’s get into the painting!
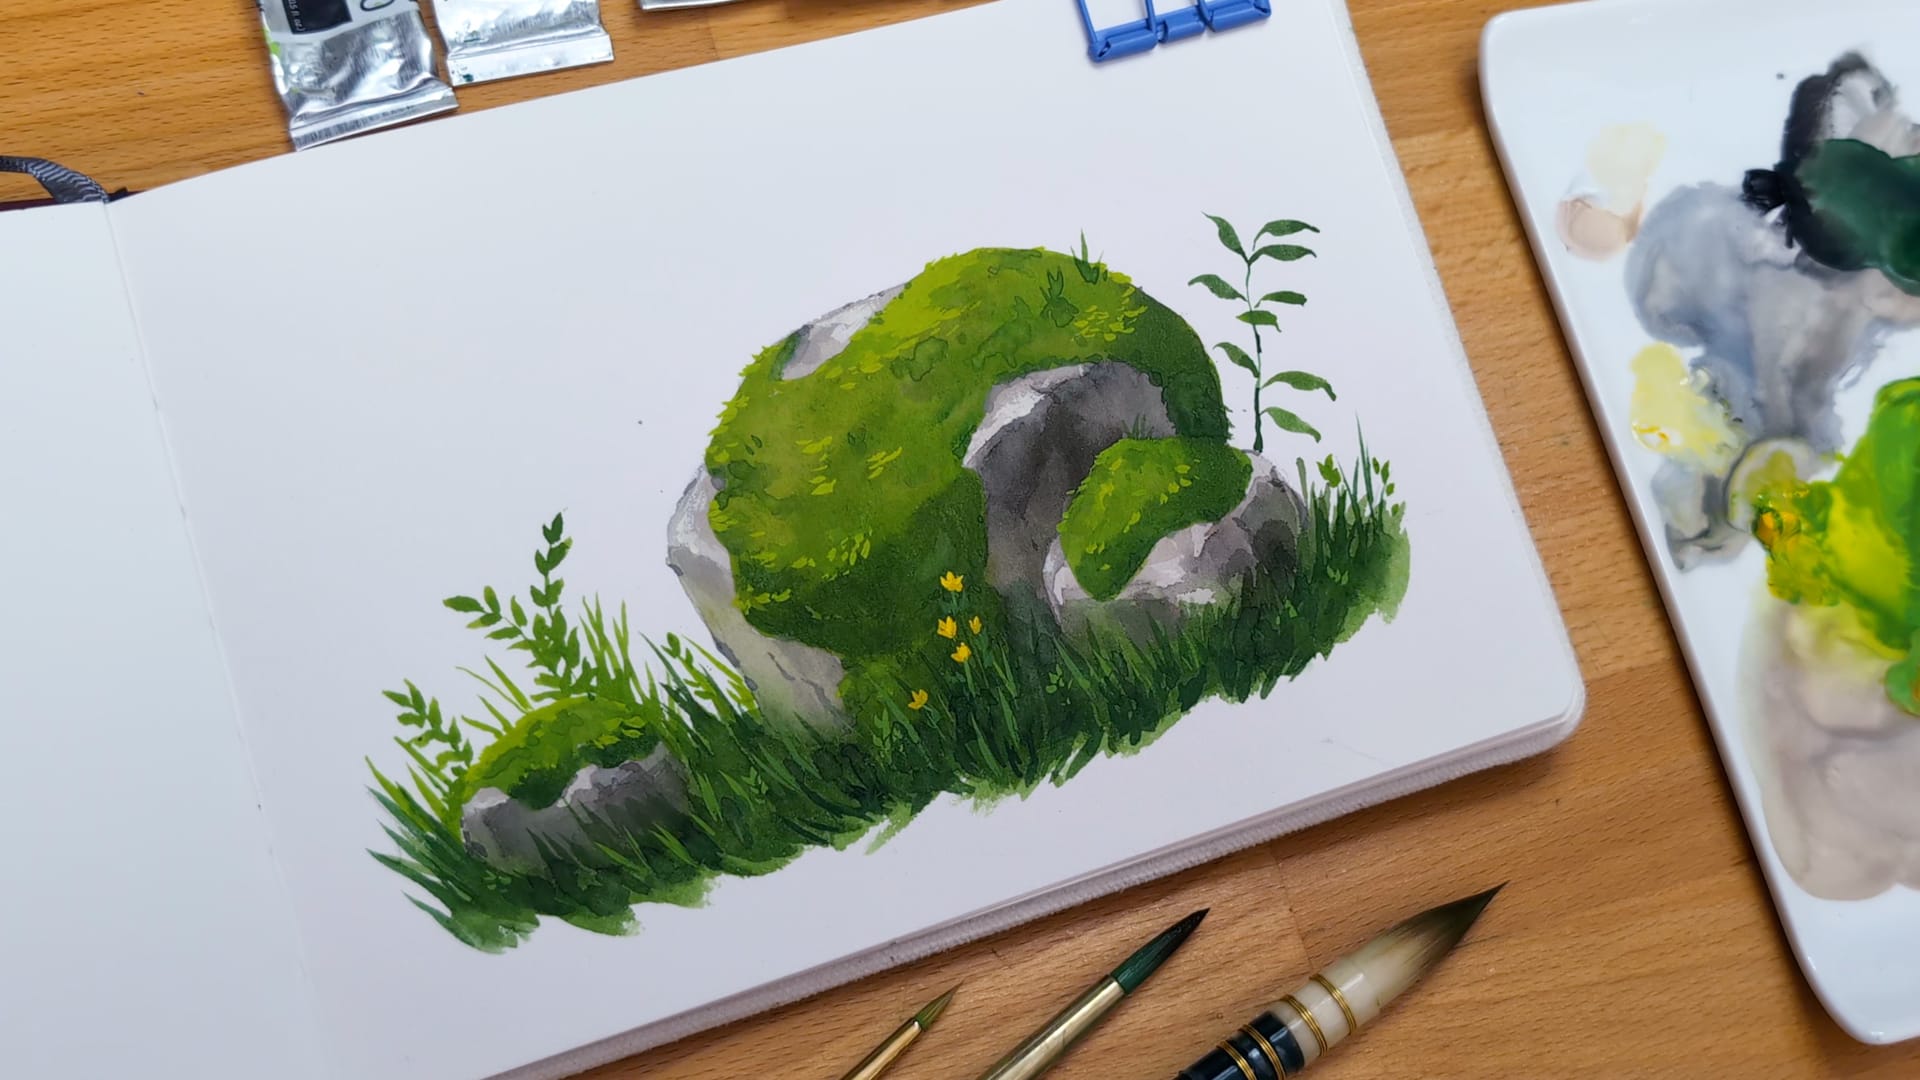
My gouache colors and tools for this project:
- Holbein Primary Yellow (G652)
- Holbein Leaf Green (G540)
- Holbein Evergreen (G845) - part of Holbein Irodori Summer Set
- Holbein Dark Green(G548)
- Holbein Burnt Umber (G604) or Winsor & Newton Burnt Umber
- Holbein Permanent White (G630) or Winsor & Newton Permanent White
- Holbein Primary Black: (G658) or Winsor & Newton Ivory Black
- Etchr Landscape Watecolor Book A5 Size (5.8 x 8.3in)
- My Custom Craftamo Brush Set (coming soon!)
* Amazon links are affiliate links that help support me and my art if you make a purchase.
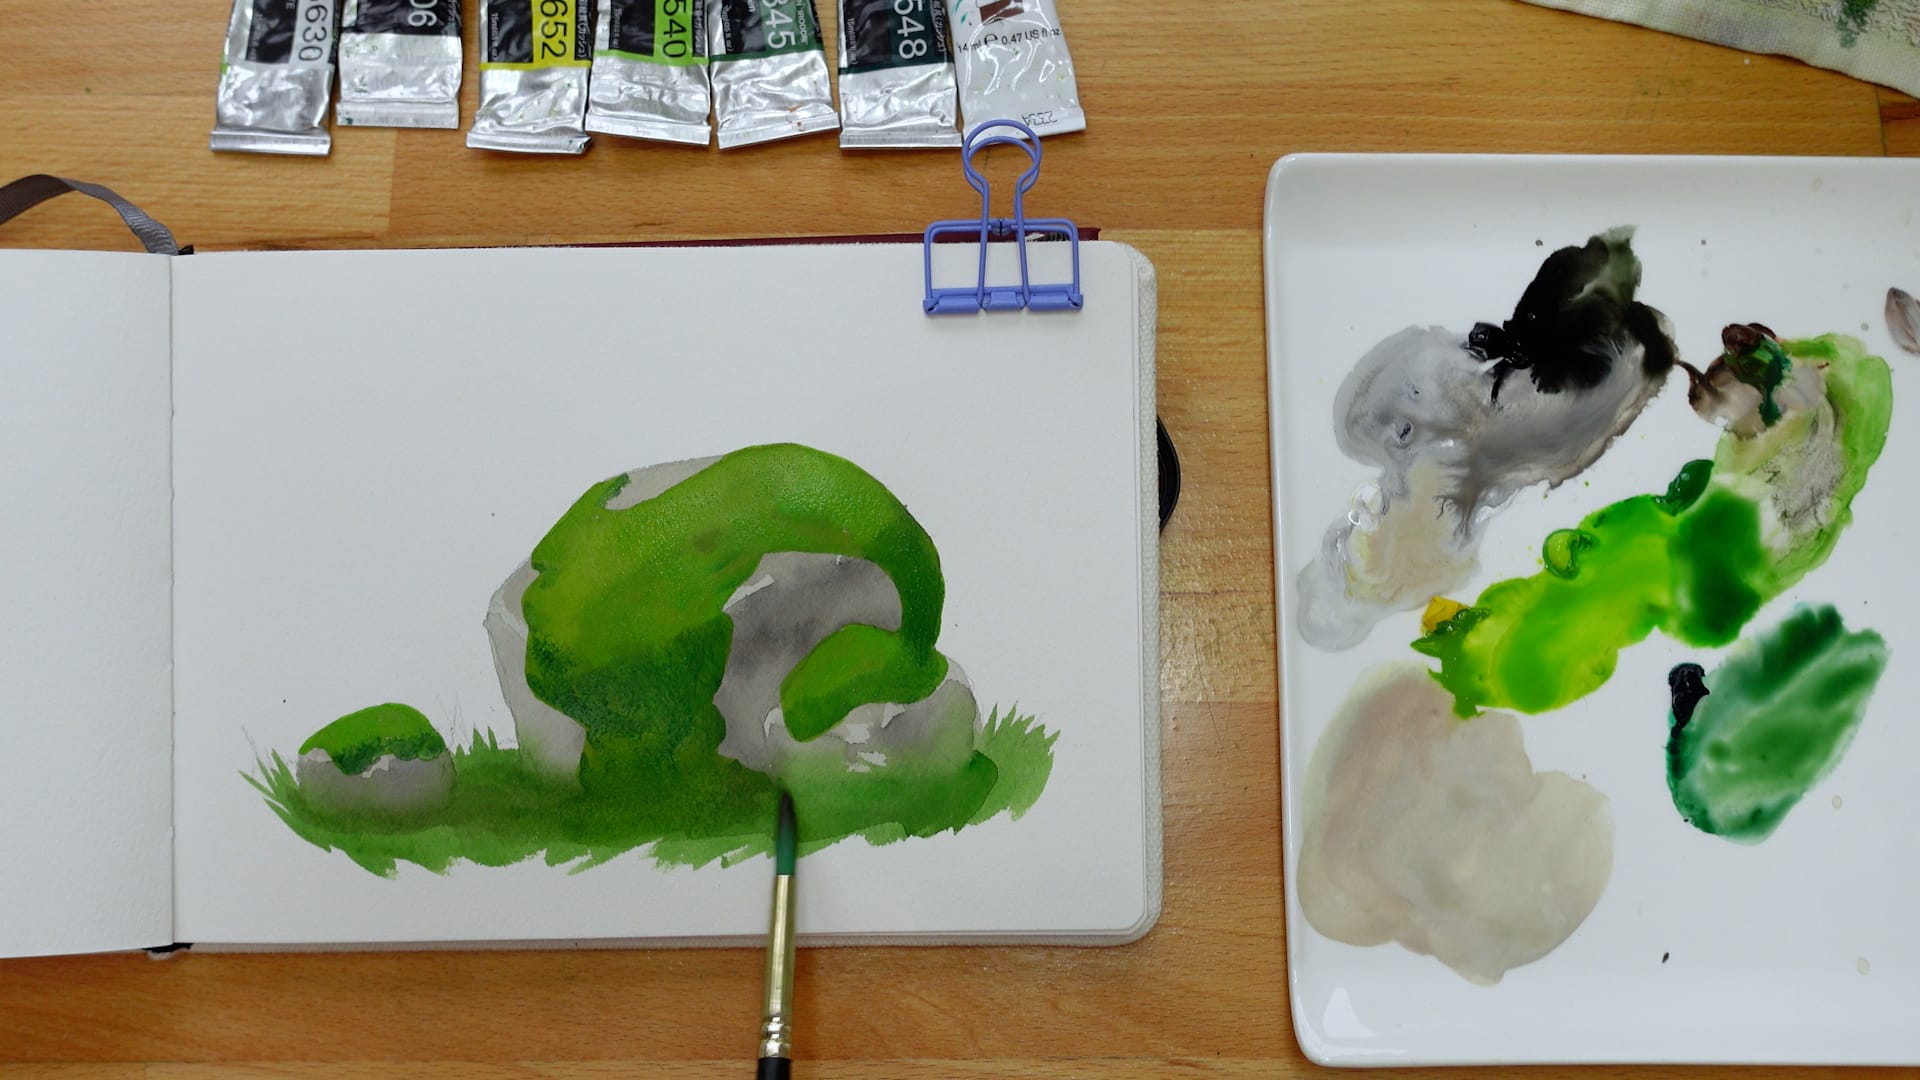
Step 1 - Background wash

In this step, I use a gray transparent mix to block in the rock shapes with a background wash. I fill in the entire shape of the rock, including what will be covered by moss in the future. I also drop in some darker greys and brows while the paint is wet to give some texture.
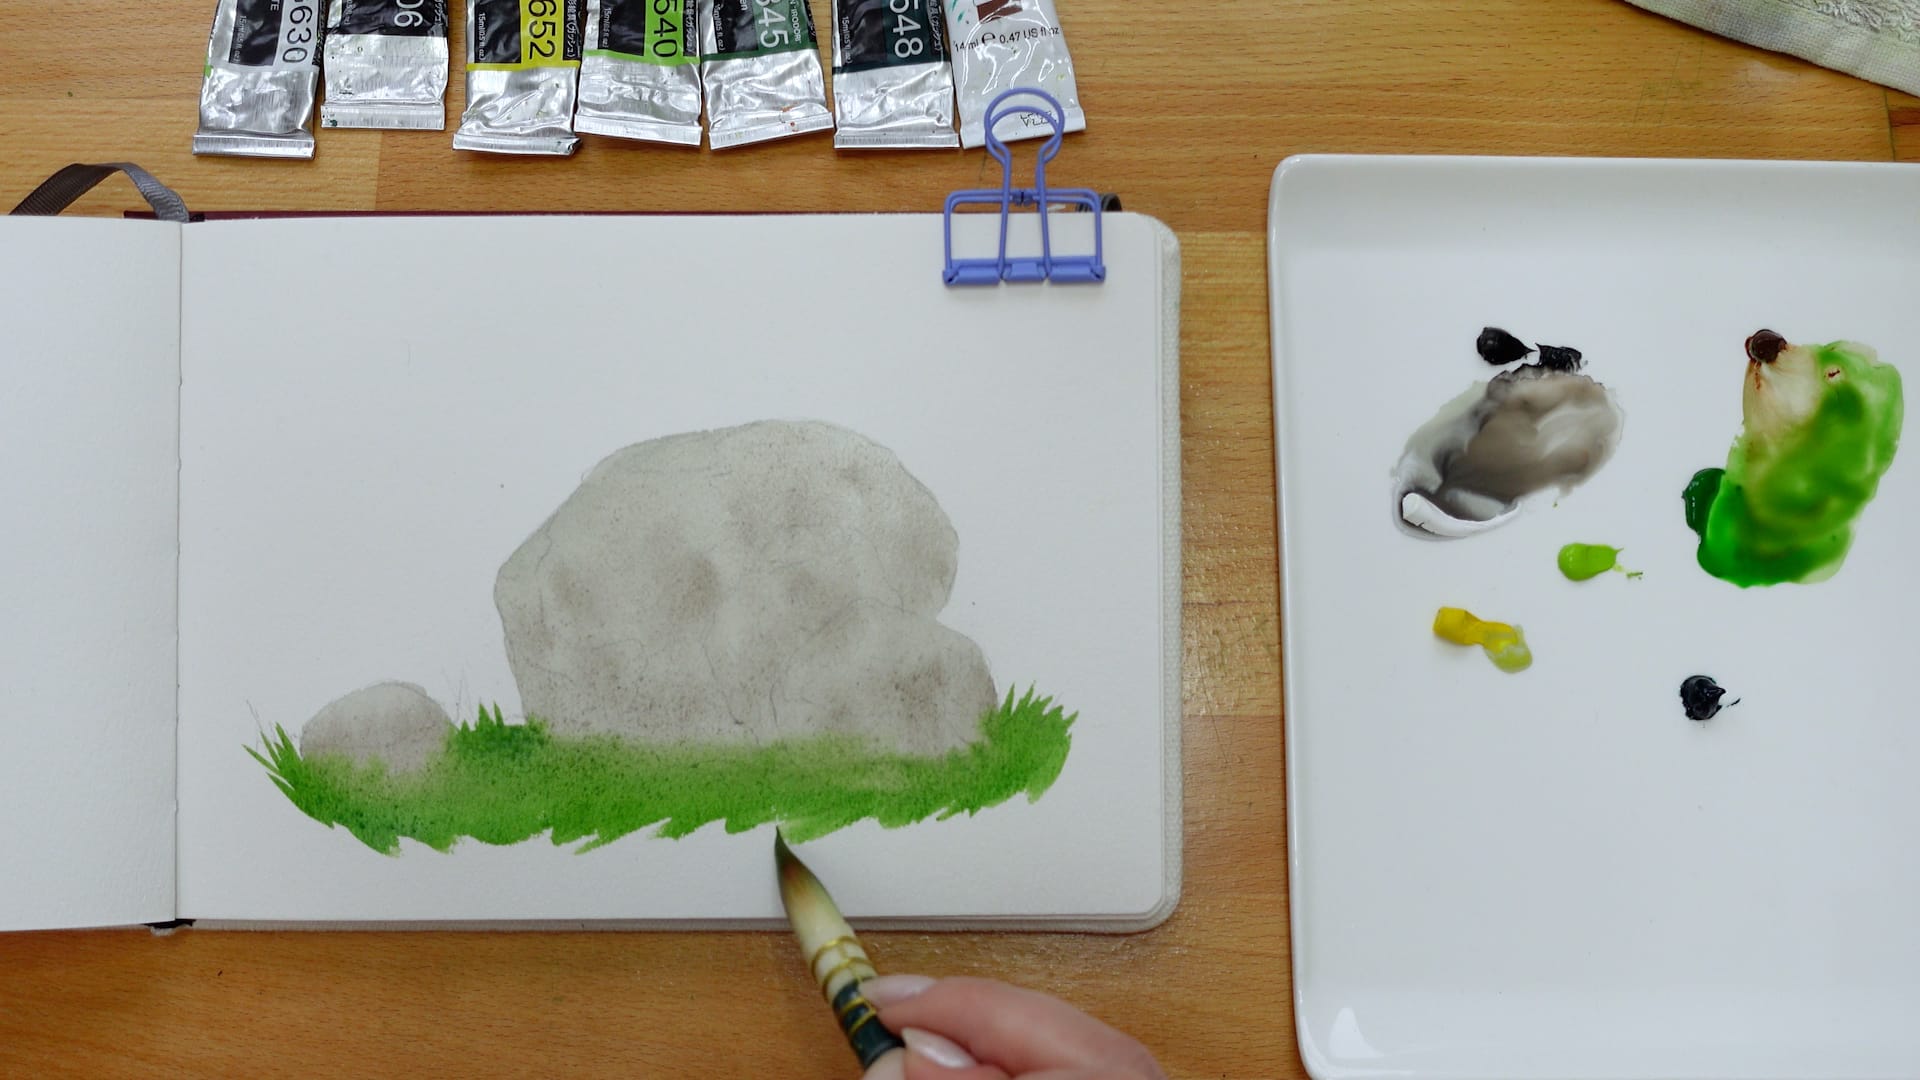
I add a strip of green at the bottom while the rock shape is still wet. This allows a soft transition to form between the rock and grass.
Step 2 - Adding Shadow to the Rock
I’ve decided the light is coming from the top left, so I begin adding shadows accordingly.
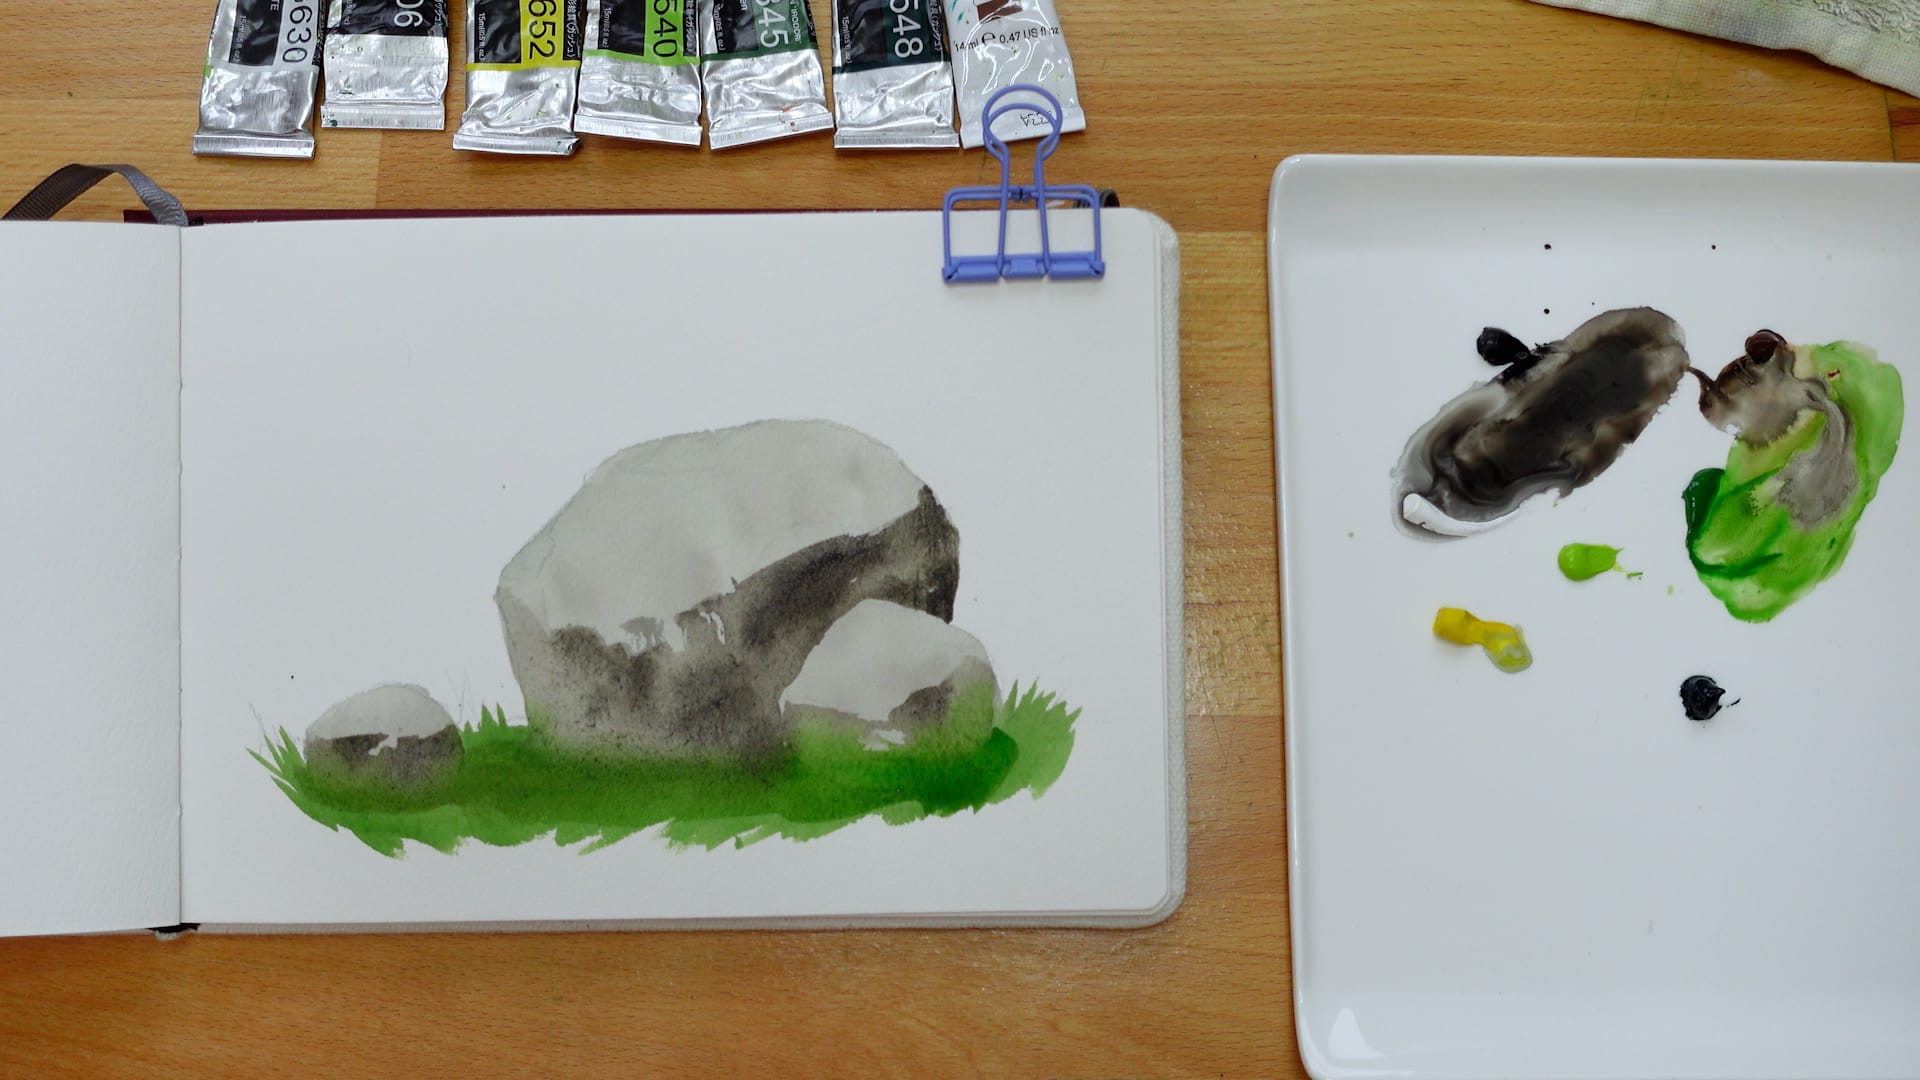
I’m using a darker transparent mix to add shadows to the right side of the rock, and the lower parts of the rock. I’m doing some dry-brushing to create some texture and rough edges on the outside of the shadow shapes.
As with the background wash, I’ll drop in some darker paint while the paper is still wet for added texture and interest.
I also add another layer to the top of the rock, darkening it just slightly and adding texture. It's important not to go too dark with this or we'll lose the 3D lighting effect.
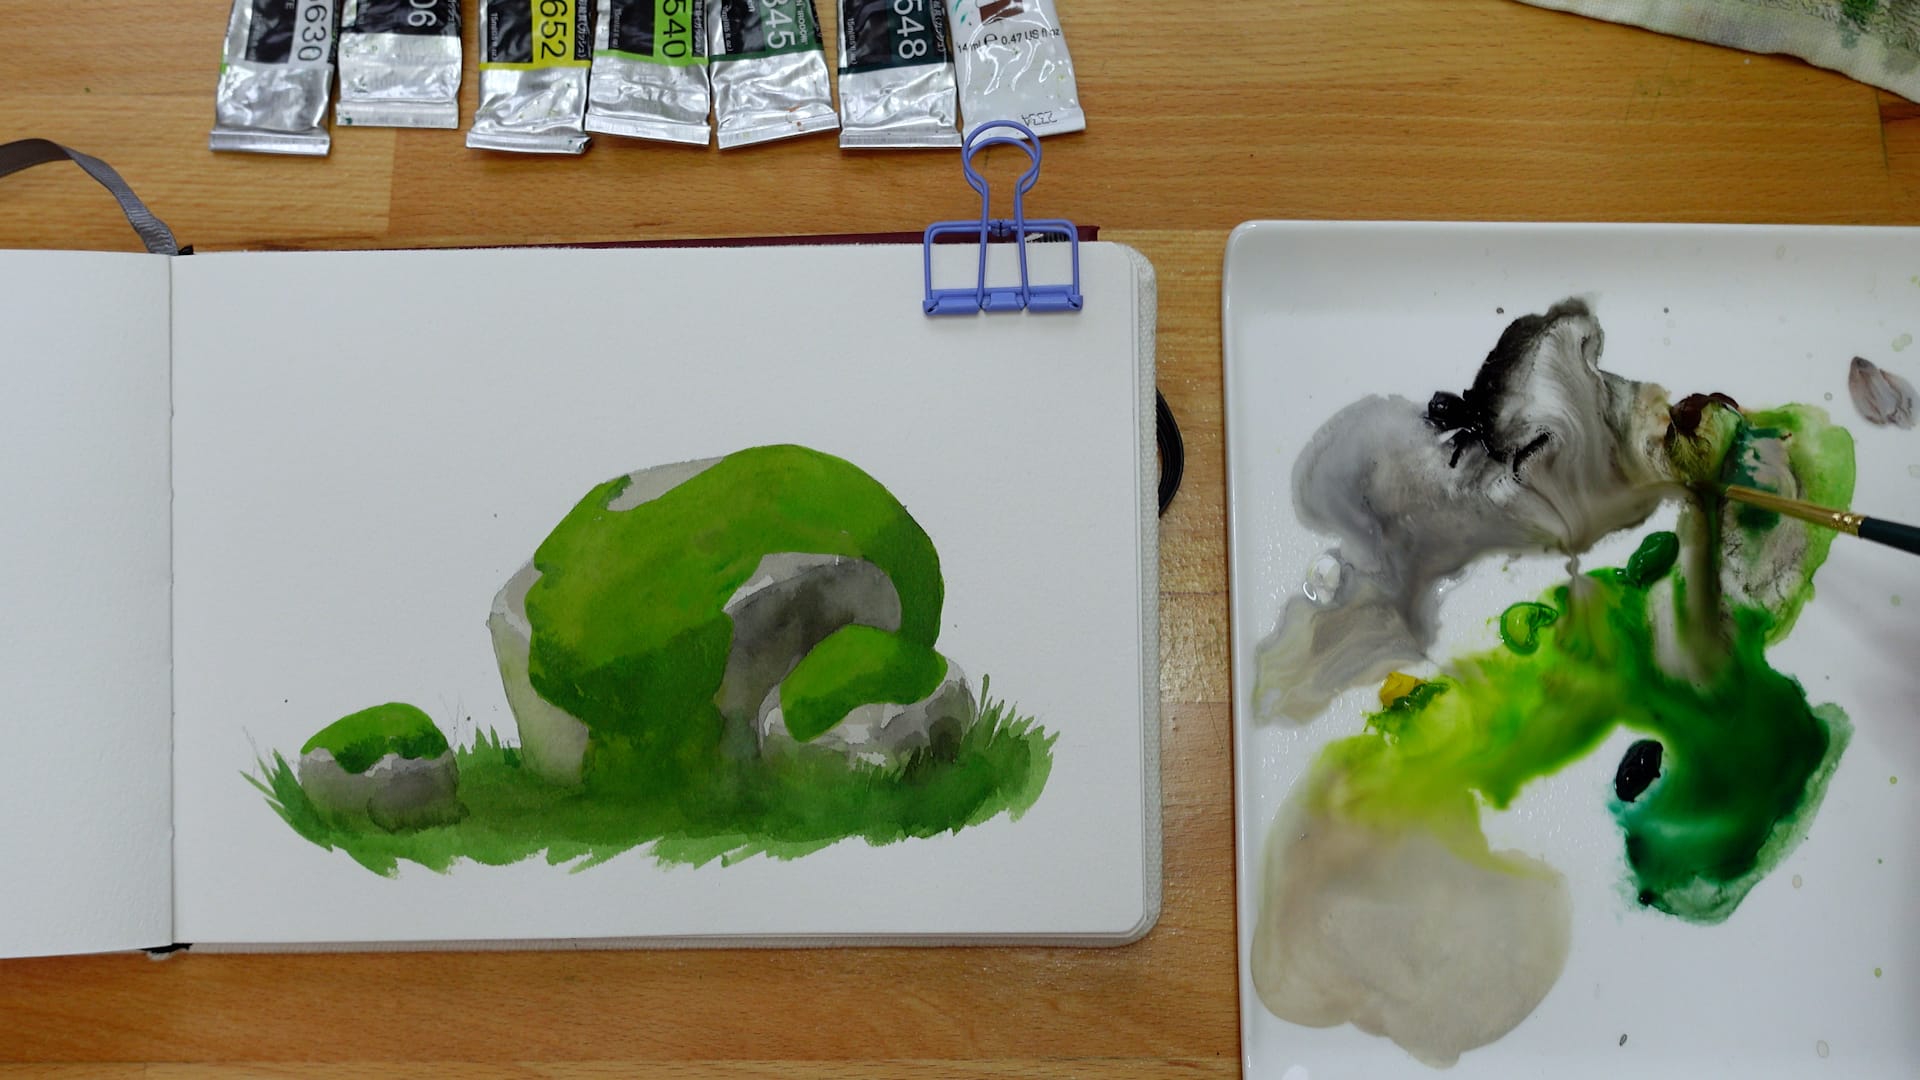
Step 3 - Moss
I mix warm earthy green color by mixing a small amount of burnt umber in with the greens and use this to begin painting moss on my rocks. I’m following my initial plan from the sketch, but feel free to change things up if you’re painting along and do what feels right in your painting.
I also mix a darker color green to add shadows to areas of the moss that would be in shadow.
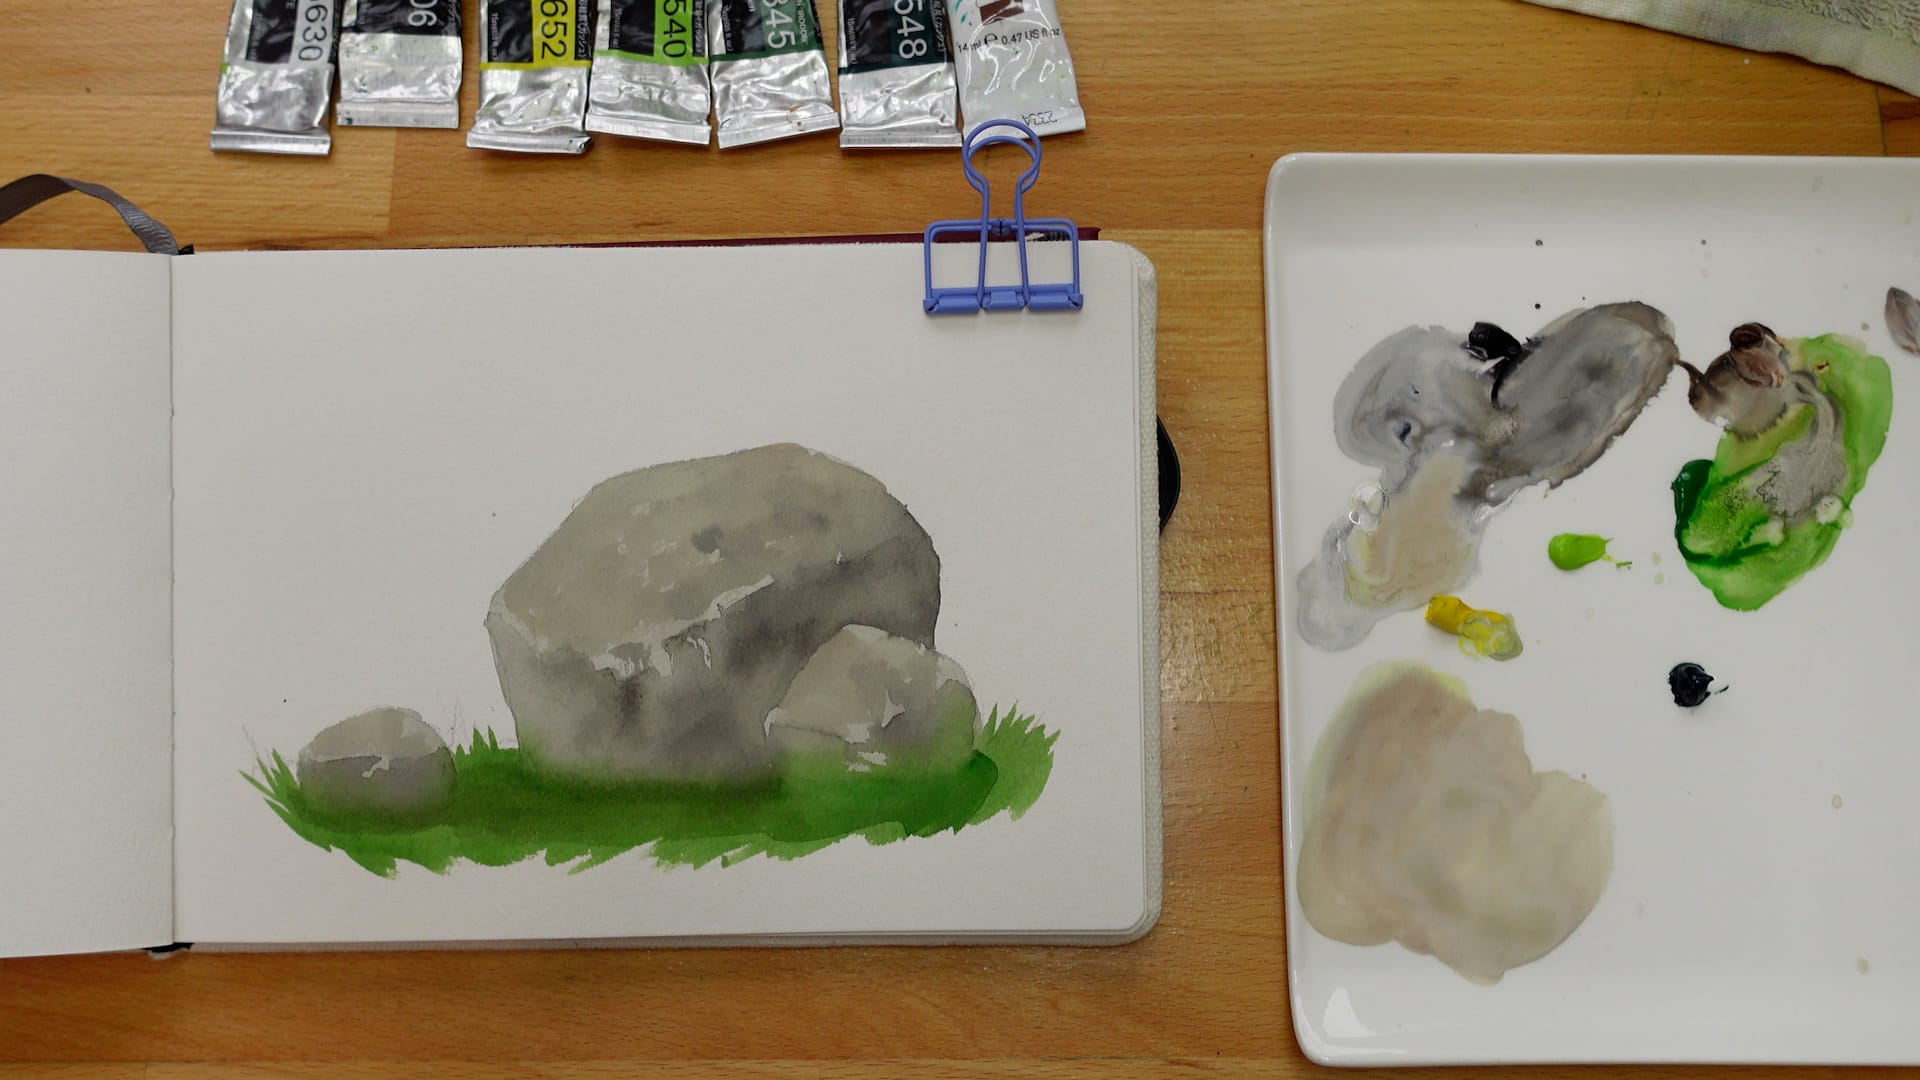
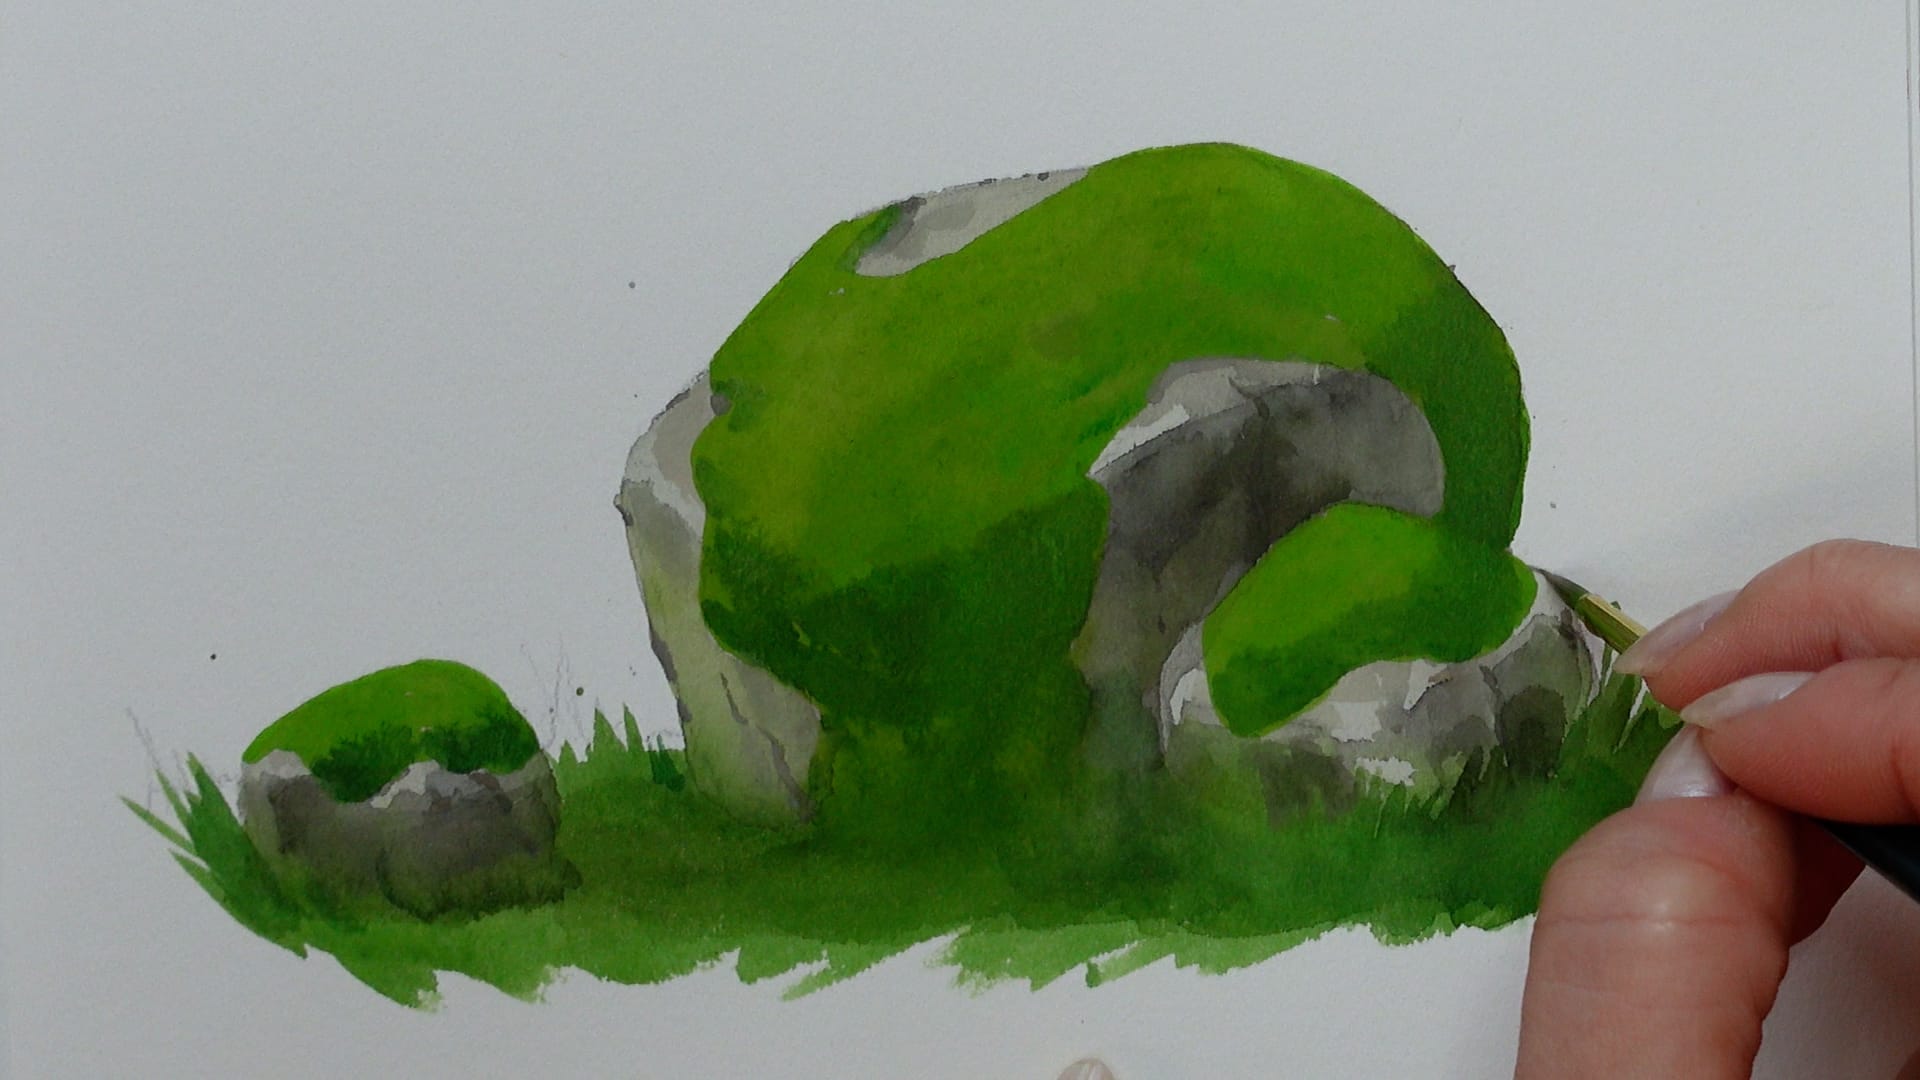
Step 4 - Deepening Shadows
I want the shadows on the rock to make sense in relation to the shadows on the rock, so darken them in this step. If you’re painting along and your rock is already dark enough, you may not need to do this.
I also add some green into the shadow areas to give the look of light bouncing off the grass and back up onto the rock.
Step 5 Details
This final layer is for detail and polishing. I’ll split it into a few sub steps!
Part 1 - Rock cracks and edges
I add cracks to the rock as well as tiny chips on the outside of the rock, using a small round brush for precision.
Part 2 - Mossy Texture
I mix a light, opaque green to add little “hairs” to the moss. I add them in “waves” like grasses blowing in the wind. The little hairs will stand out most in areas of transition (where lights and shadow meet) and also at the outer silhouette.
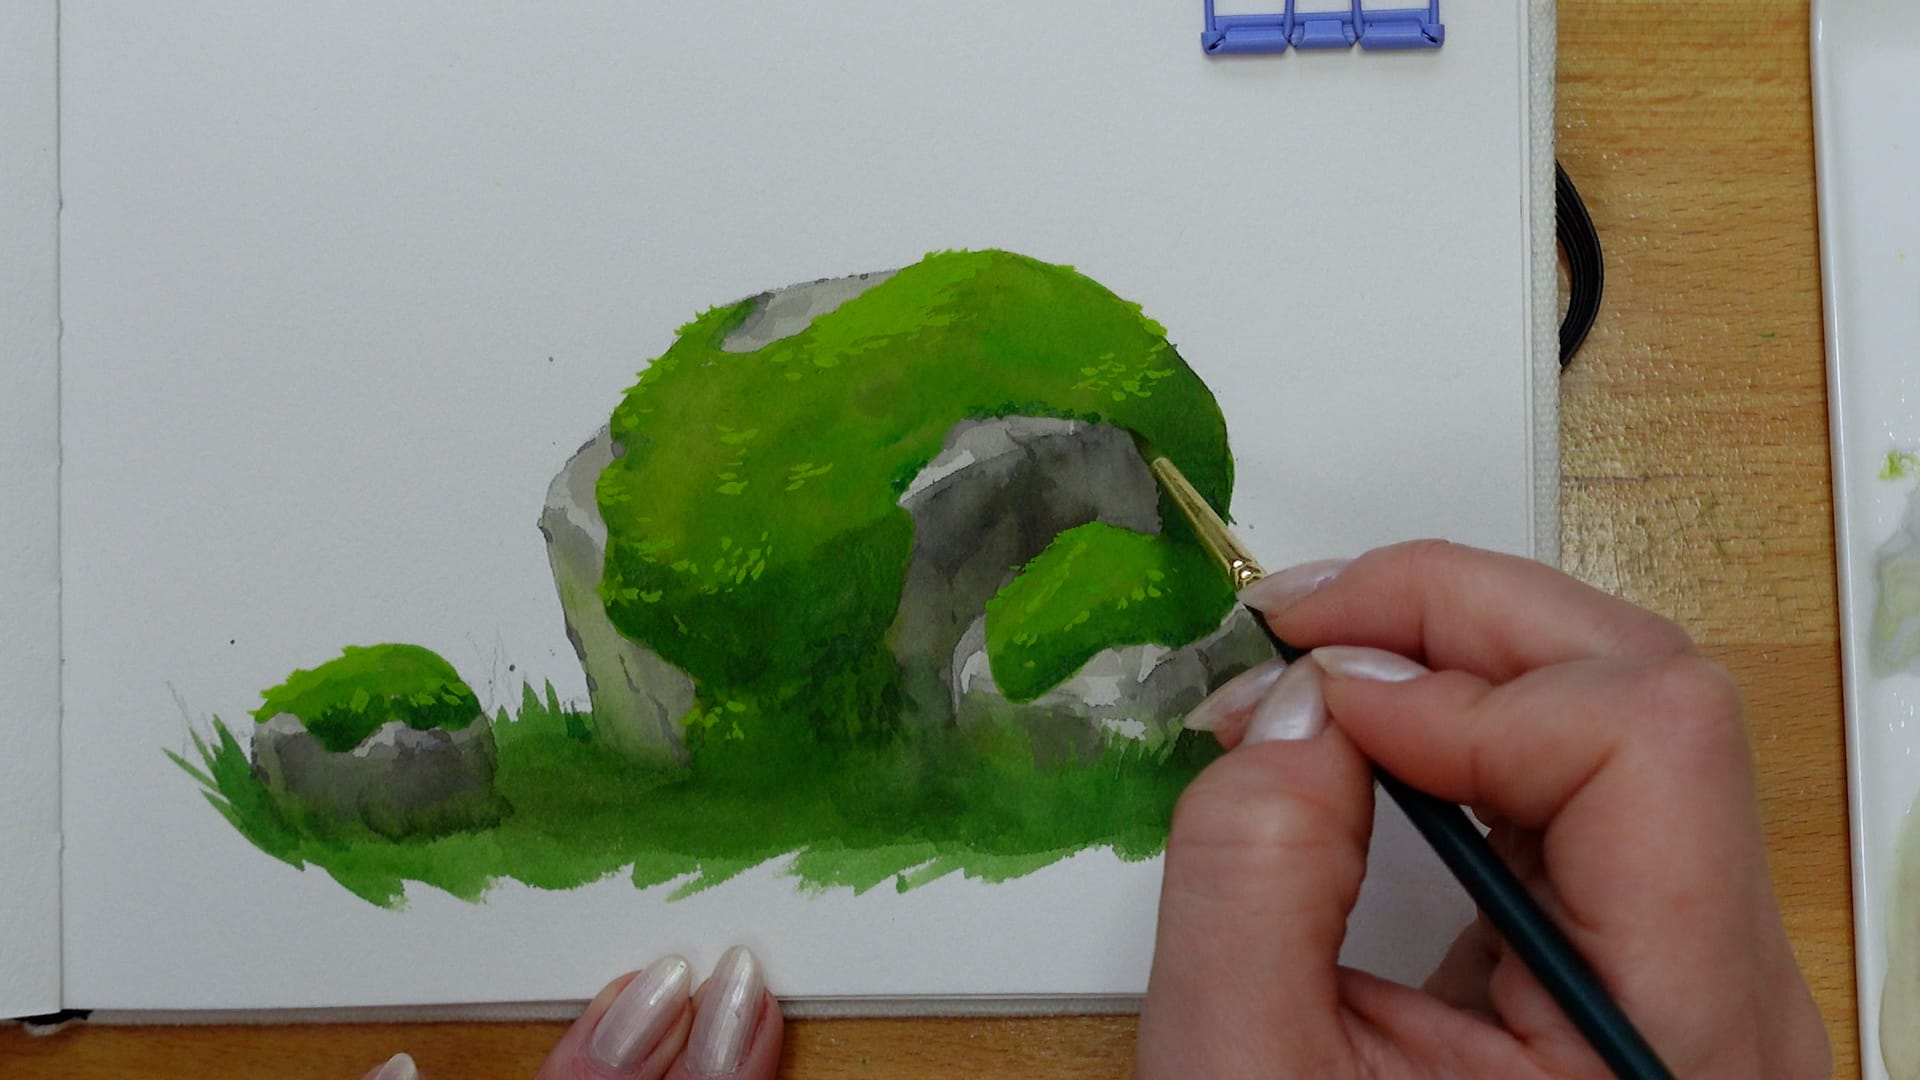
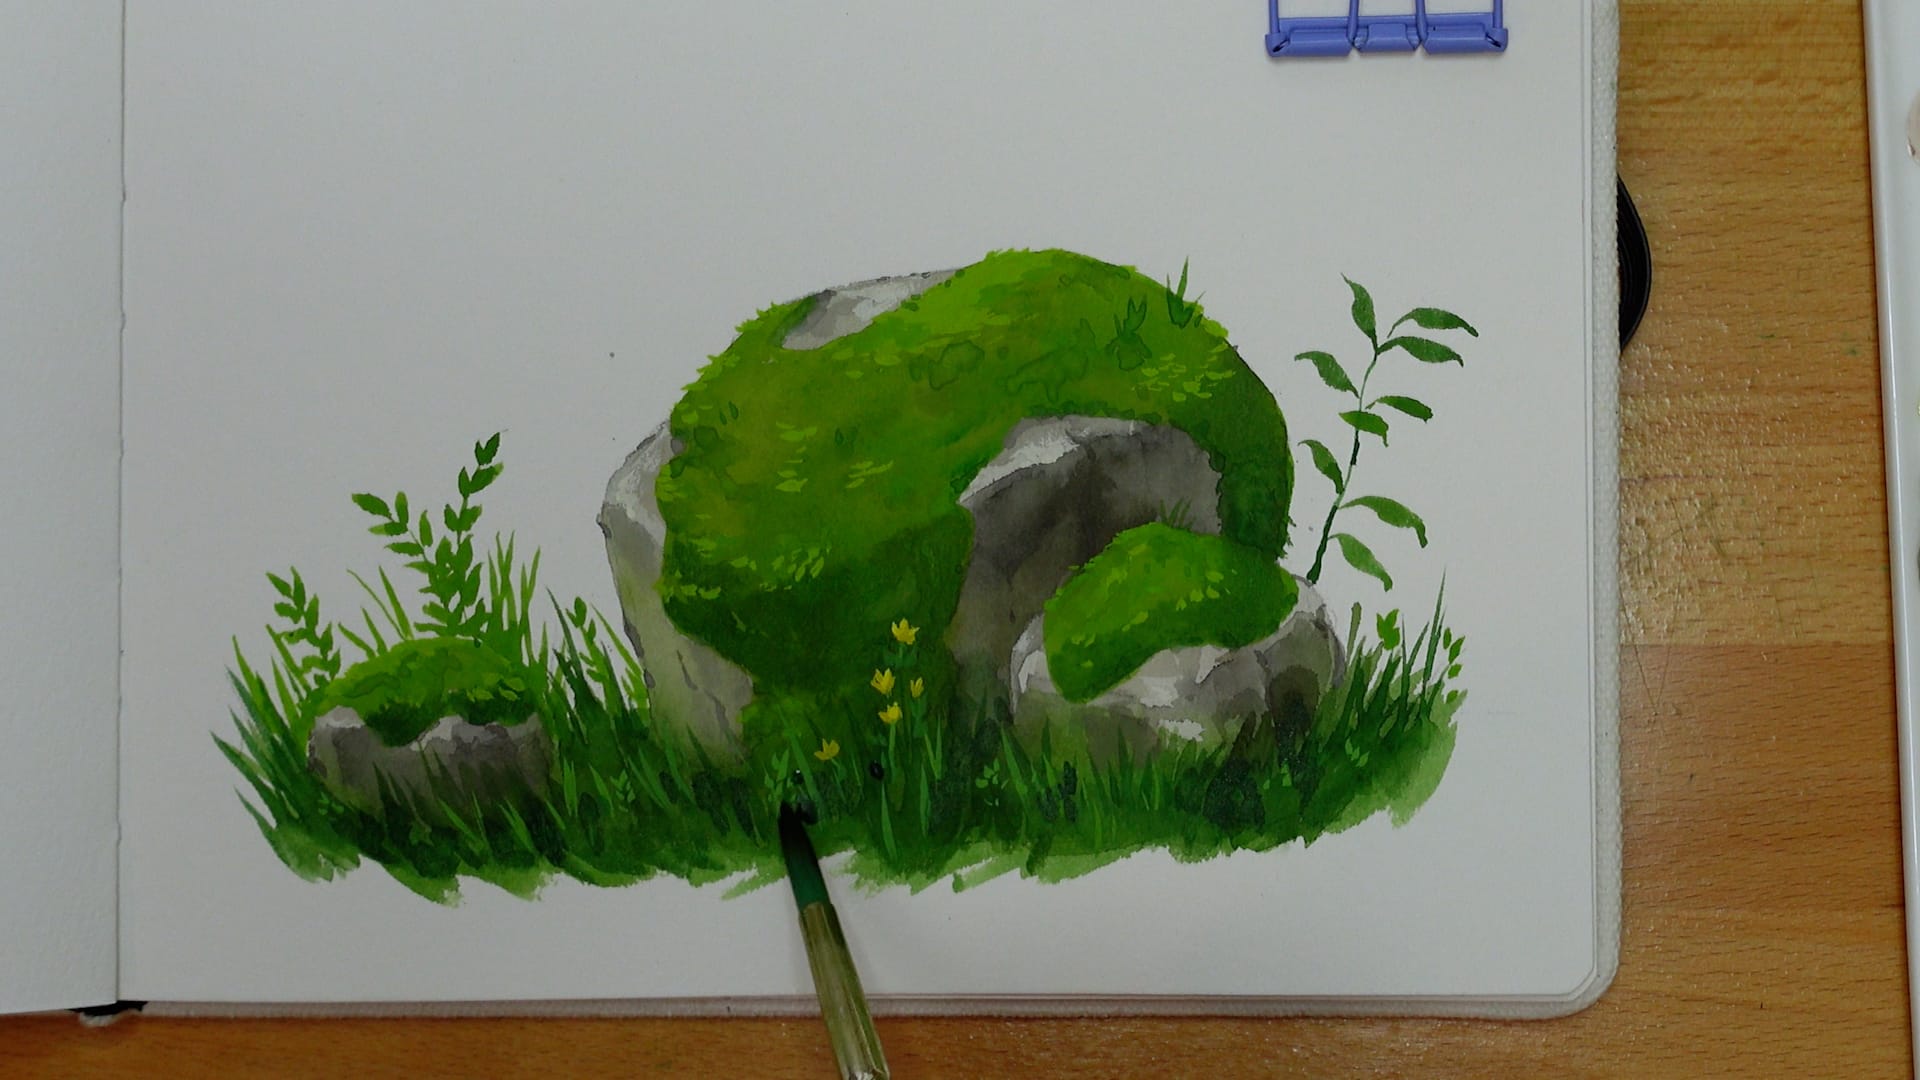
Part 3 - Grass and plants
Adding some leaves and grasses can make your scene feel more lush and interesting. It makes the rocks feel like they are really nestled into their environment.
If you’re interested in seeing more about how I paint leaf shapes, check out my tutorial here.
Part 4 - Final highlights and shadows
For a final step, I add some last highlights to the rock and shadows to the foliage.
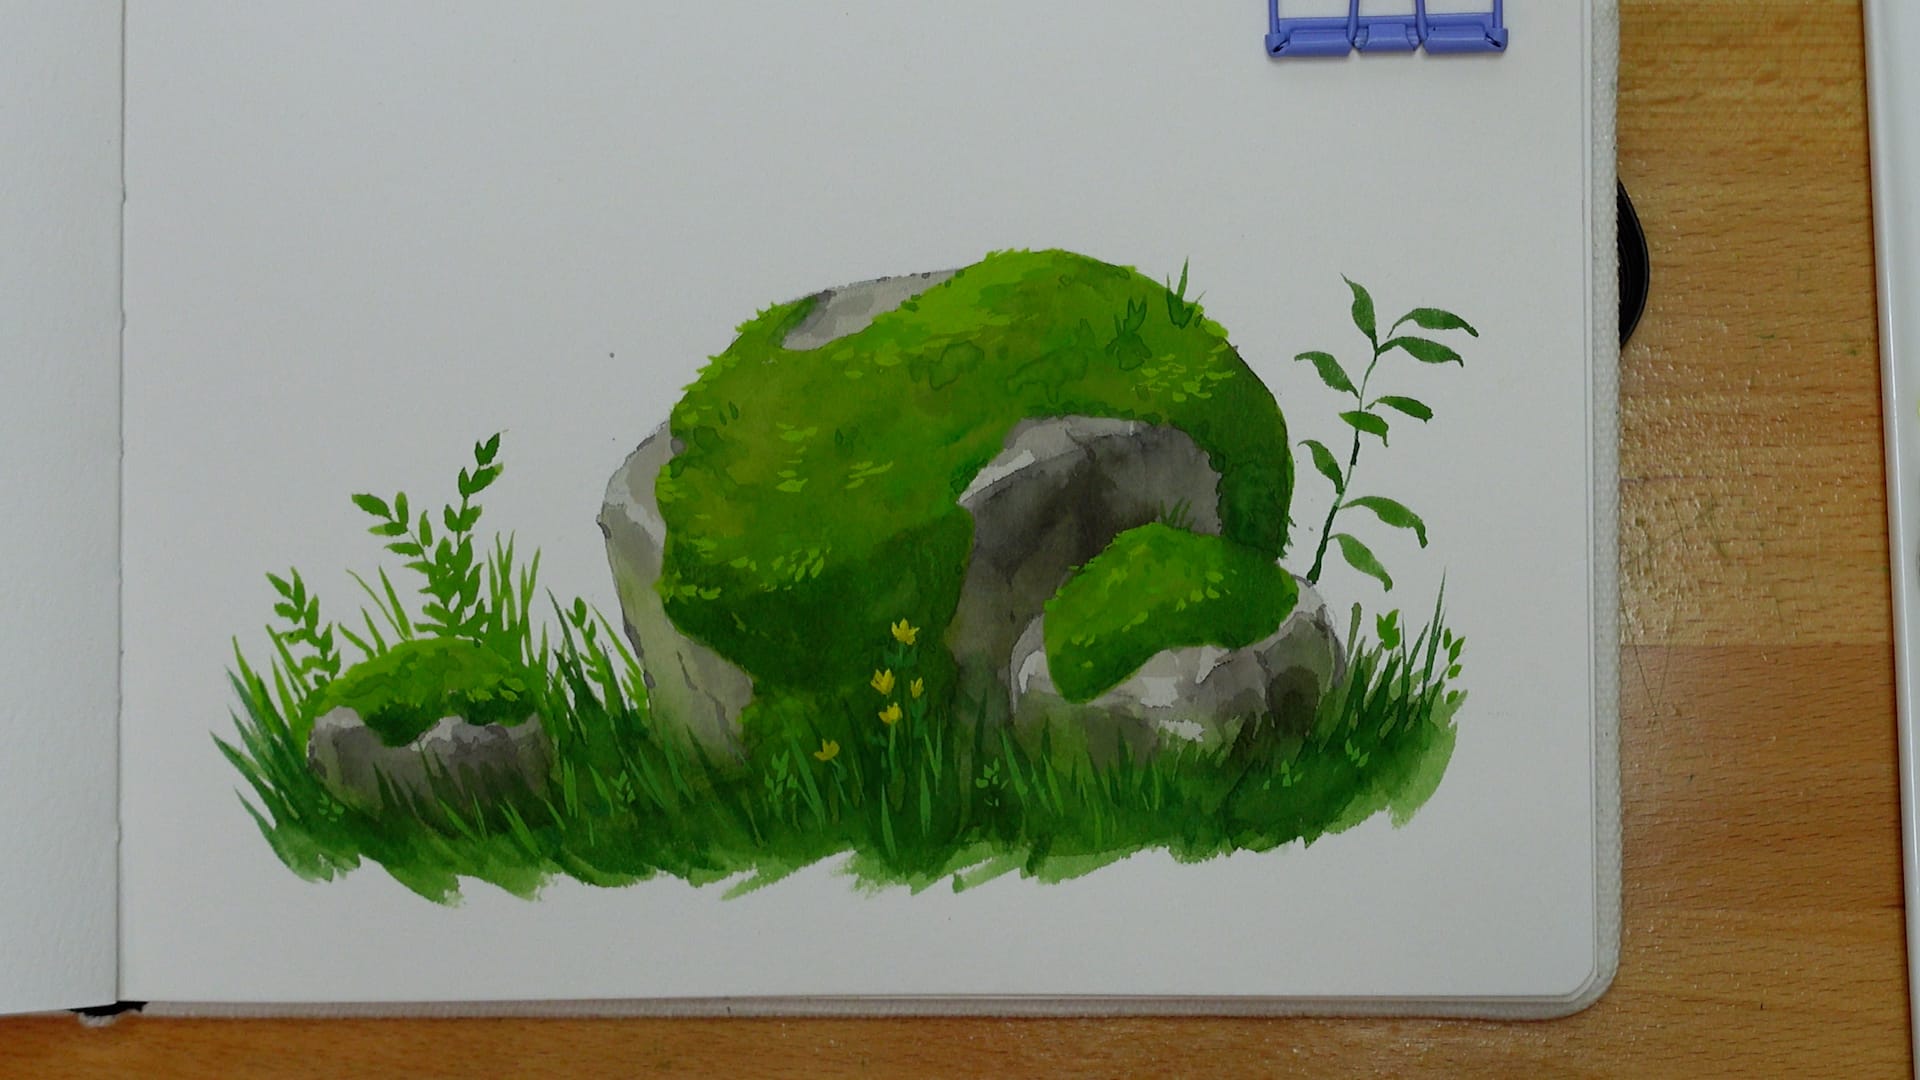
Final Results
Here we have the final mossy rock painting!
I hope you found this helpful! If you painted along, please feel free to tag me on my socials or share it in my discord. If you would like to request a future painting topic, please leave a comment on the Youtube Video for this painting and let me know what you'd like!
See you next time! 💚
