
Creating A Lush Gouache Landscape 🎨🌿 Paint Along With Me In Real-time!
Hello art friends!
I tried a new format with my most recent YouTube video and really enjoyed it. In this video, I shared my full painting process from start to finish in real-time, so you can paint along with me! If you want to join me, check out the video here. You can also find the reference image and some process steps below.
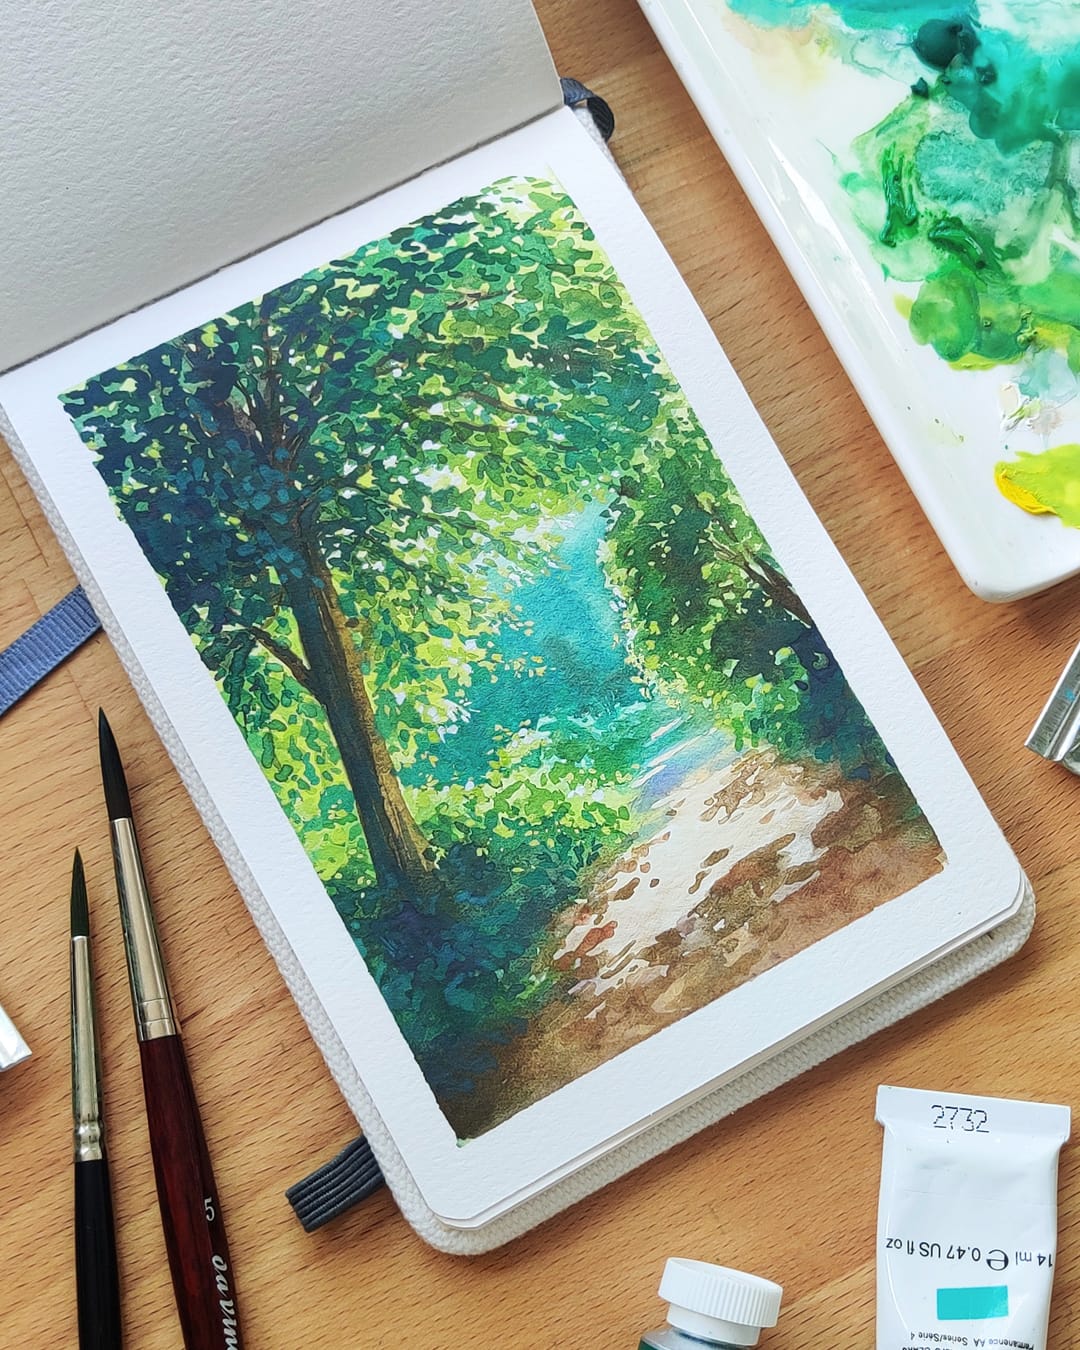
I took the reference photo walking in a local park last summer, and I loved the effect of dappled light on the sidewalk, and light shining through the tree leaves. You're welcome to use the image below for reference if you paint along!

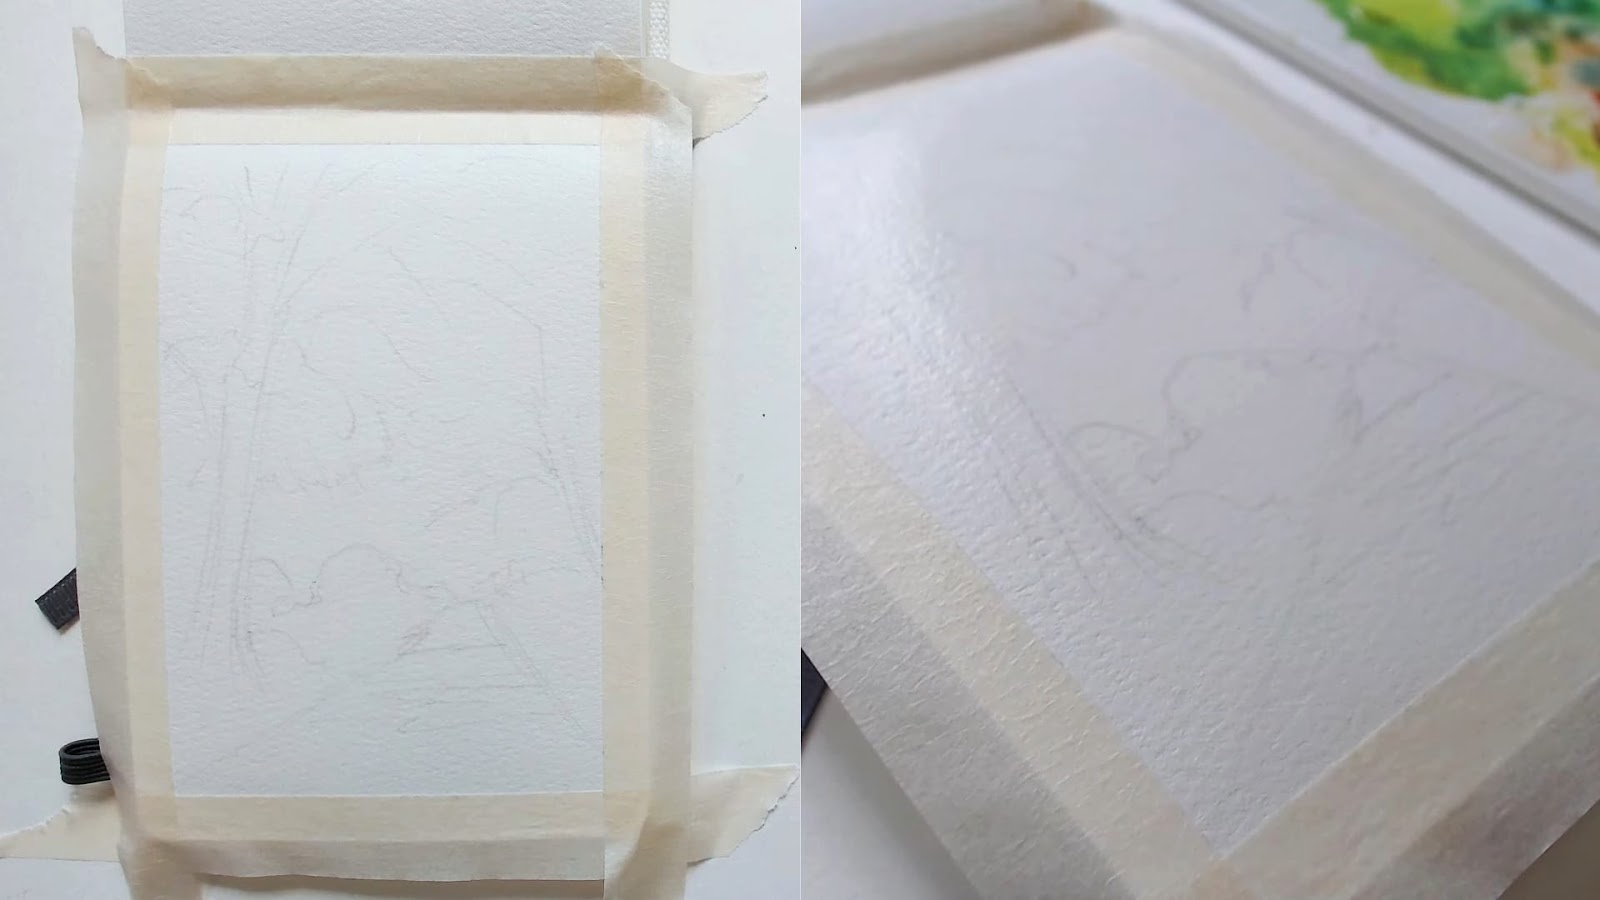
I started by making a light pencil sketch before painting. I usually prefer if the pencil lines don't show in the final artwork, so I draw very lightly and only sketch the most basic shapes.
Next, I wet the paper and let the water sink in for a few seconds before beginning.
When the paper is ready, I can begin painting the base layer. Lately, I've been taking a more watercolor-style approach to the early part of my painting process. I like to keep the paint slightly more transparent at this step, and as the painting goes on, I layer with a more opaque paint mixture.
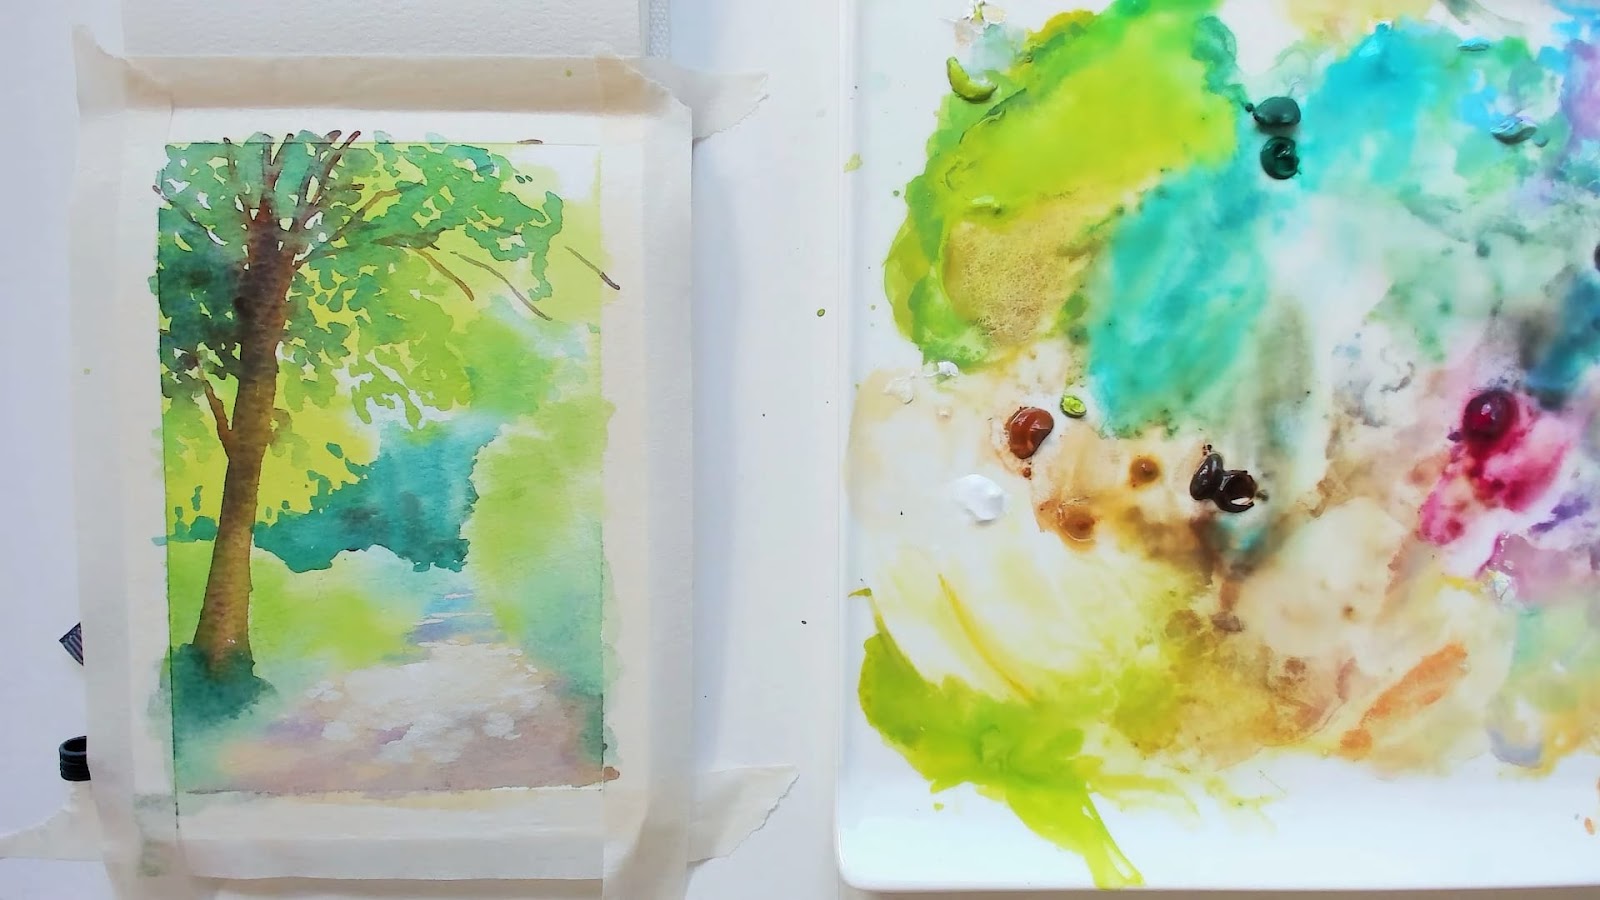
My goal is to keep each subject (pathway, bushes, tree, etc.) simple during this step. I only want to paint the most basic shapes of each subject.
Since light is coming from behind the tree and bushes, I chose to start with light yellows and greens for most of the foliage. I find that starting with a light transparent wash in these situations will help give a luminous glowing effect to the lighting.
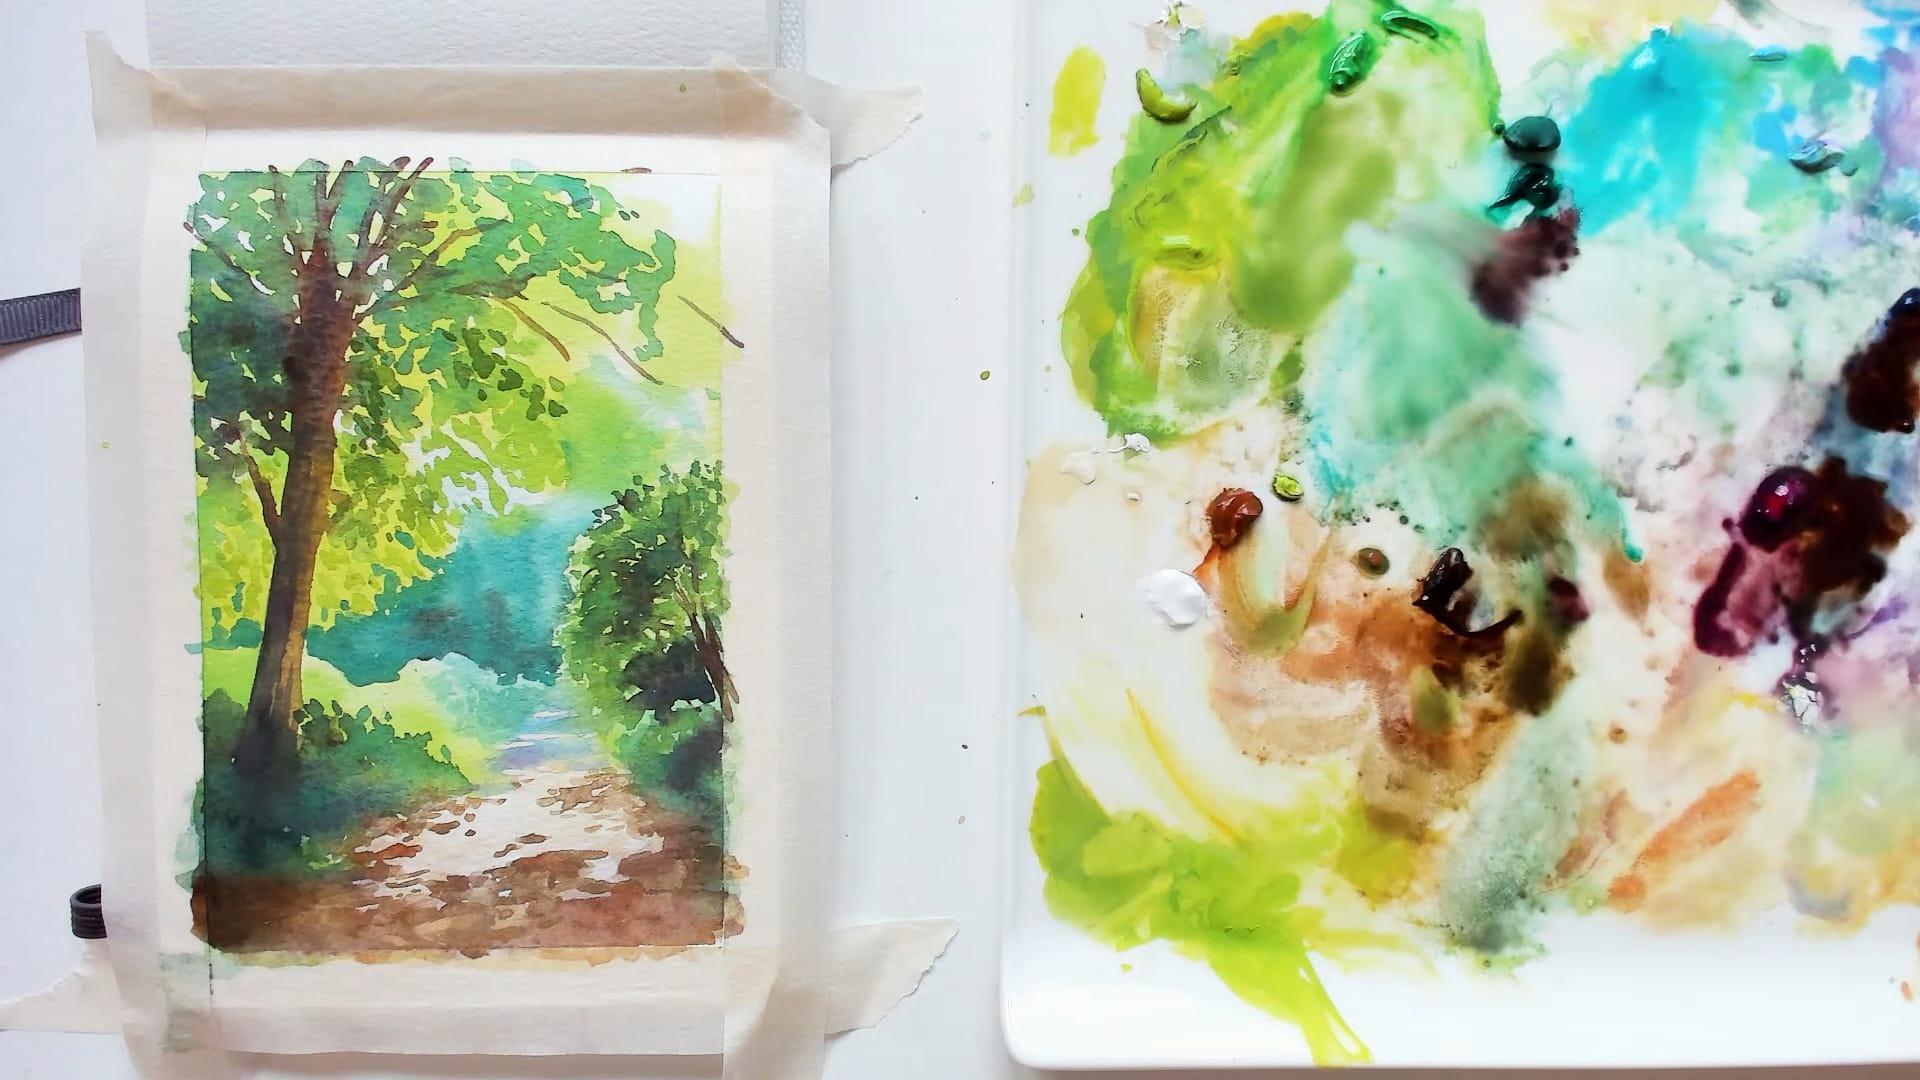
In the next step, I layer on top of the base layer, and start to add a little bit more detail to each subject. I begin to indicate leaf shapes on the foliage and add darker shadows onto the path.
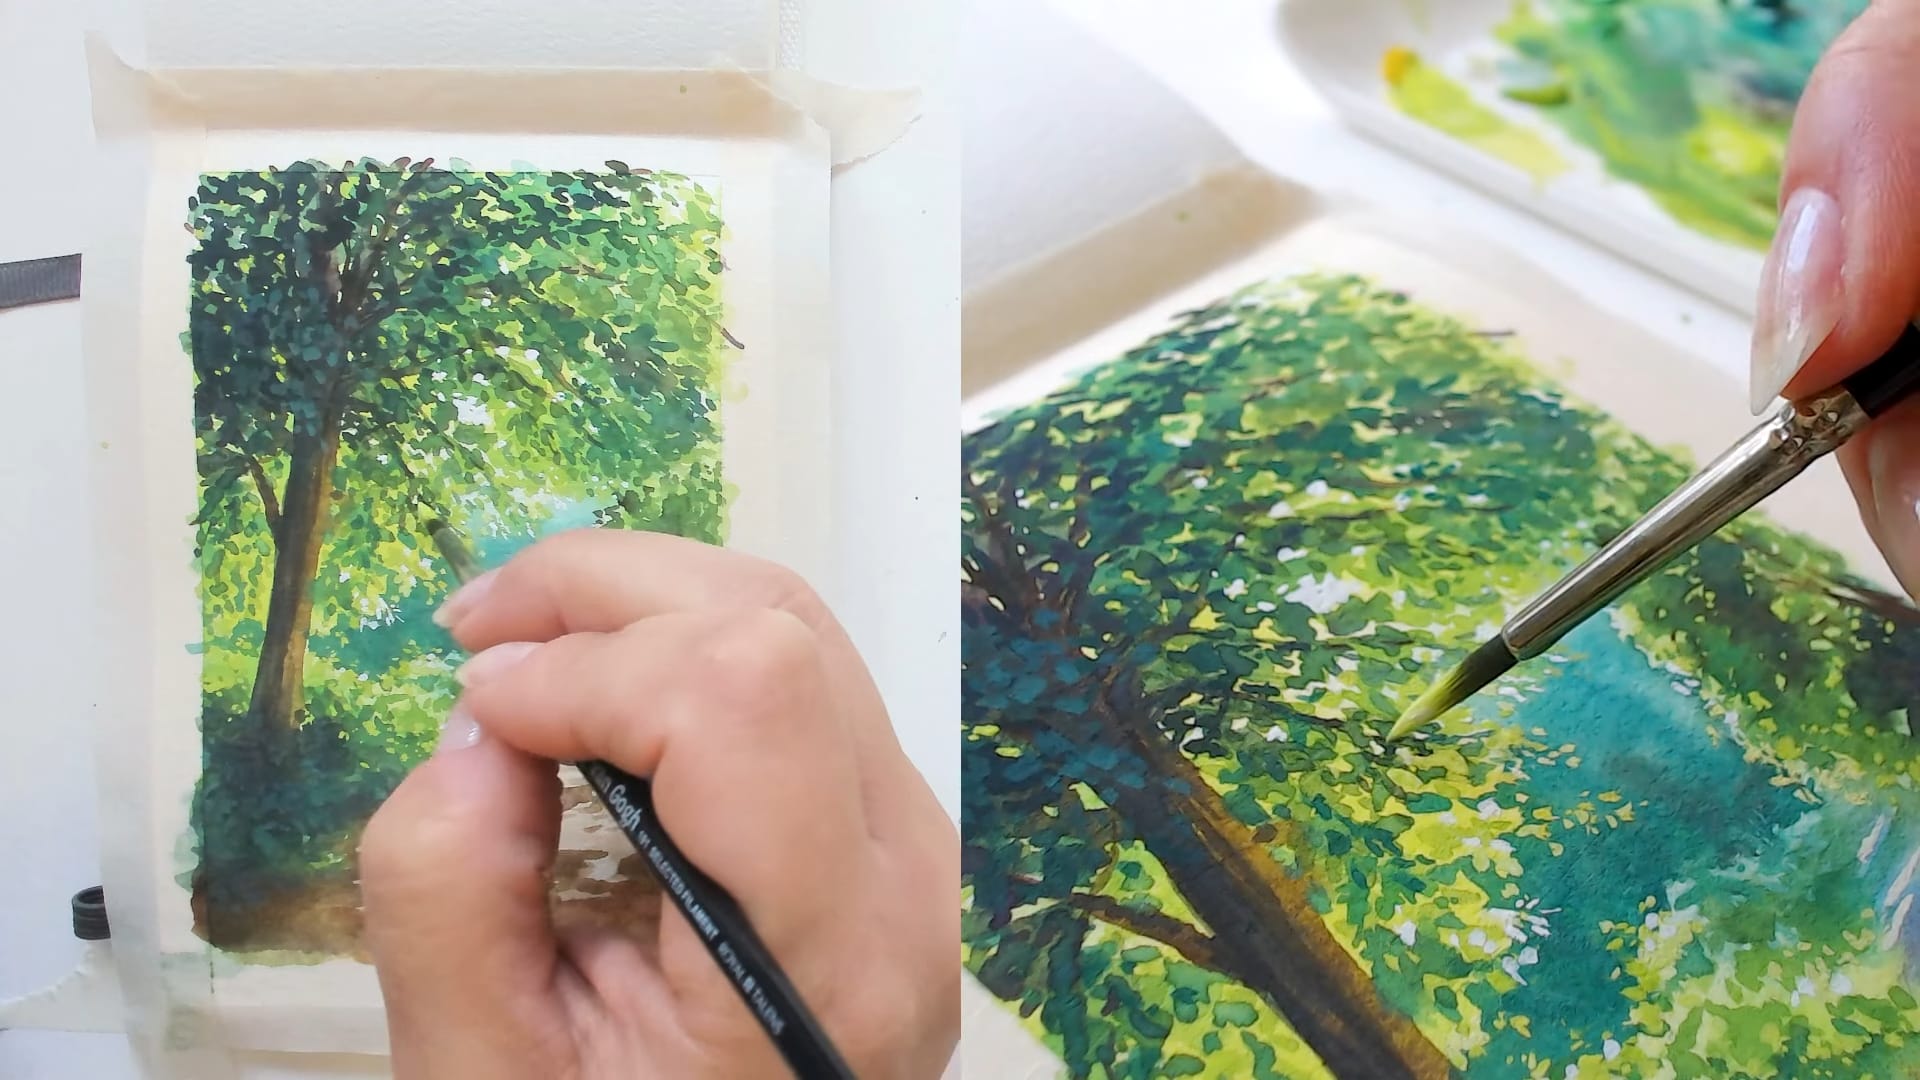
In the final step, I take my time with cleaning things up and adding the fine details and highlights. I think about where the viewer's focus should be, and then make sure to add the most detail to those areas. At this stage, it is important to use a more opaque paint mixture, with less water. This helps when layering, especially when adding light highlights over dark areas.
Finally, it's time to peel the tape and the painting is complete!
Thank you to everyone who painted along with me! I'd love to see your artworks, so feel free to tag me or share them with me on my Instagram if you want!
I really enjoyed this cozy type of format and I look forward to doing more of these paint-along process videos. If you would like to request a future painting topic, please leave a comment on the Youtube Video for this painting and let me know what you'd like!
